
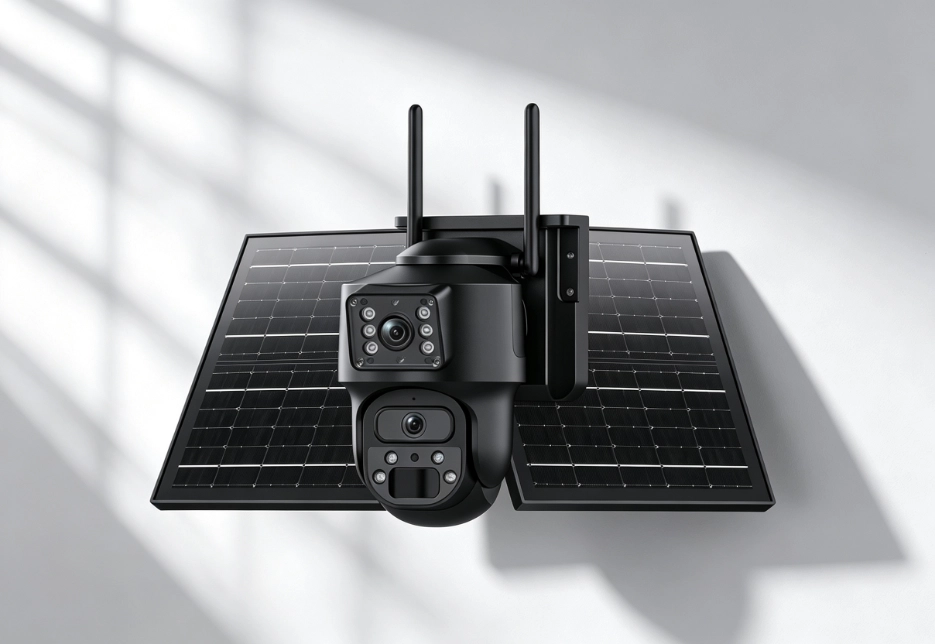
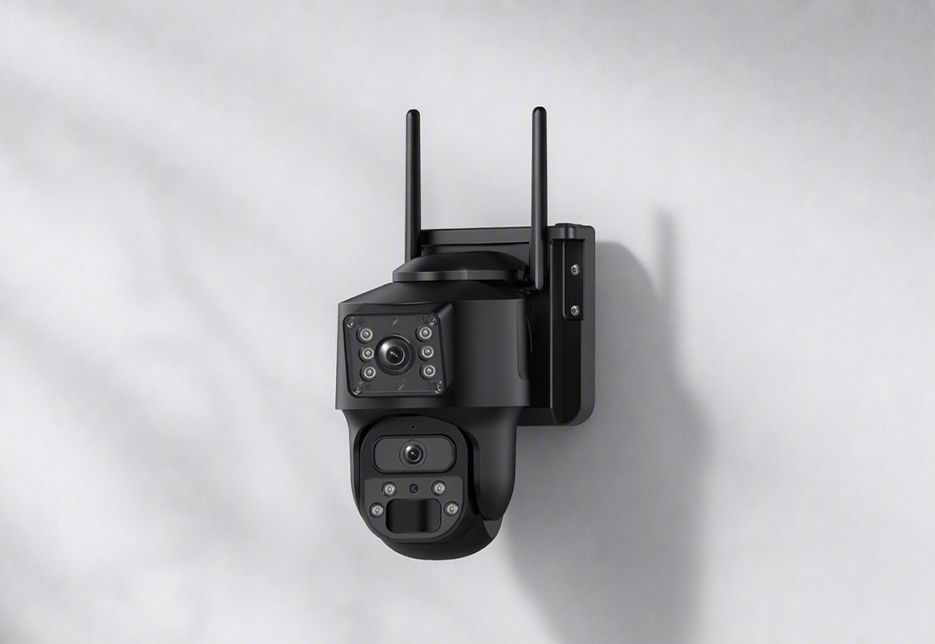
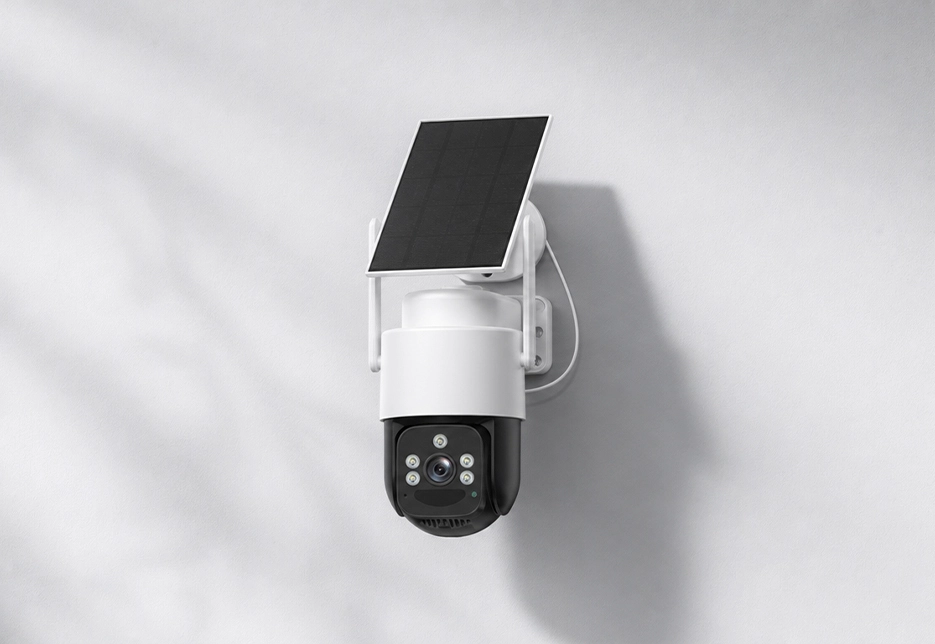
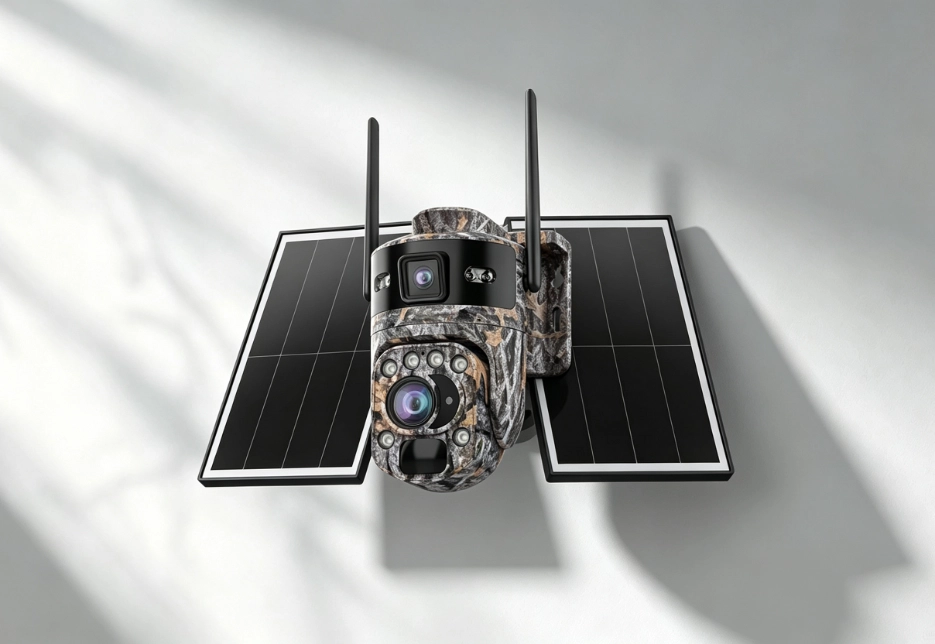
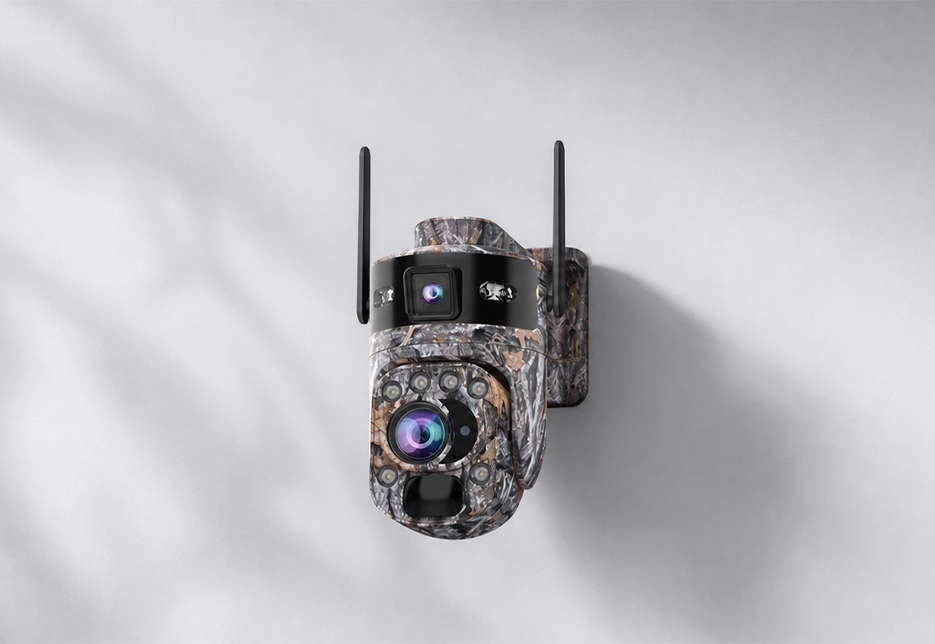
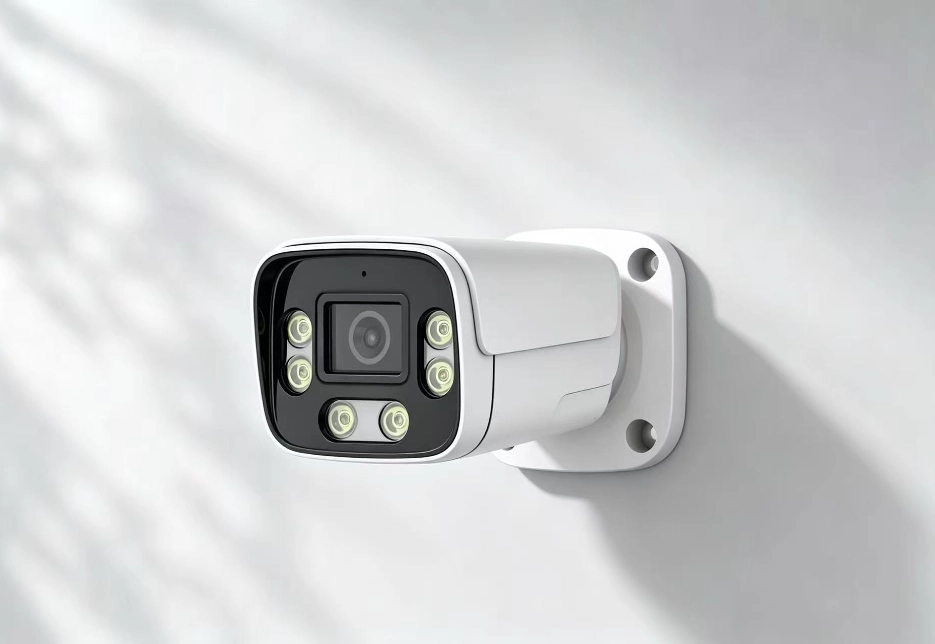
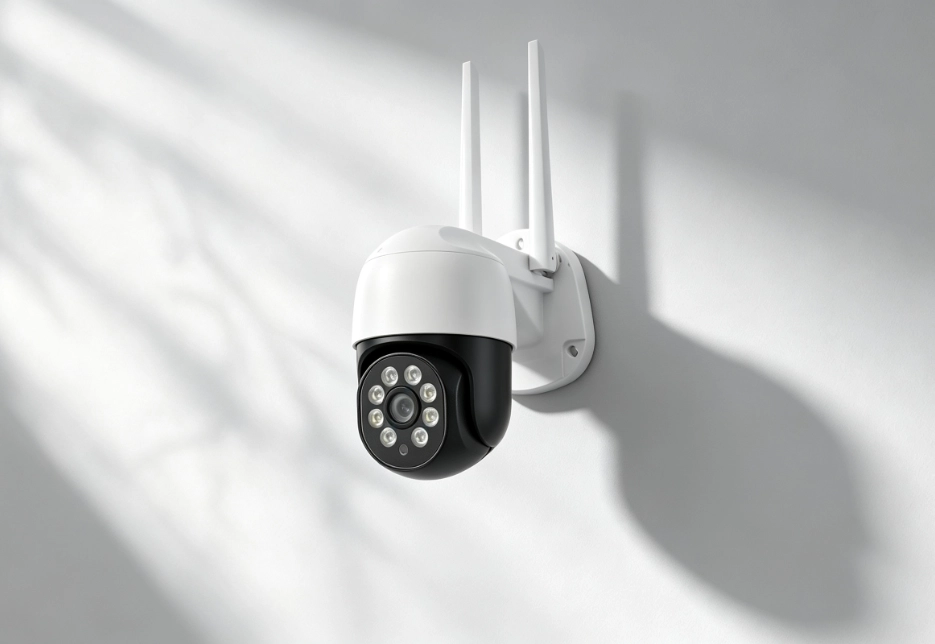
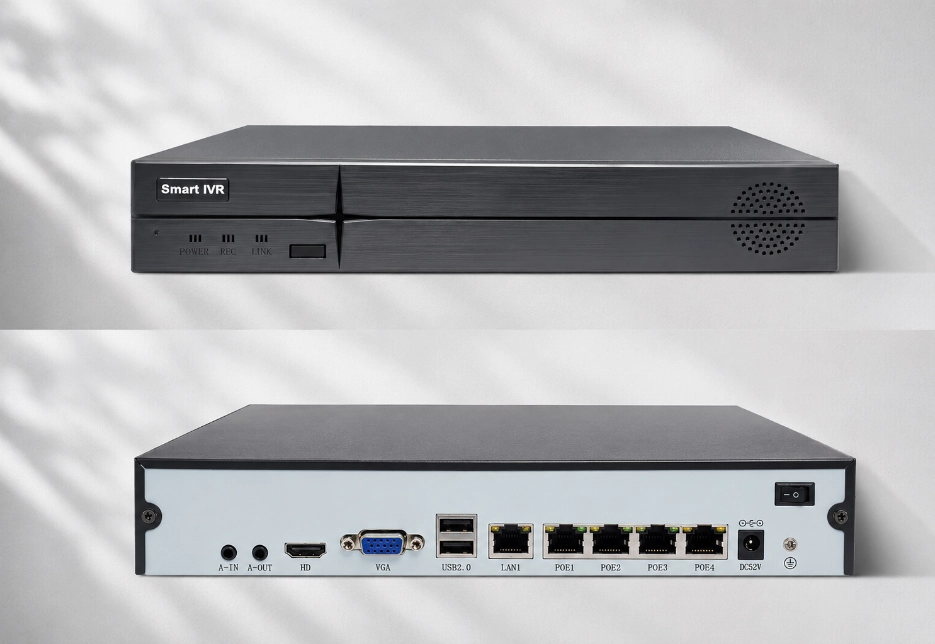
Outdoor Security Camera Installation: Height, Angles & Solar Panel Setup Done Right
Ninety percent of “my camera doesn’t work” complaints are install problems: wrong height, wrong angle, a shaded panel, a busy road in the detection zone. Twenty minutes with this guide prevents all of them.
A camera earns its keep in the first hour after you screw it to the wall — or loses it there. Every tip below comes from the same install scenarios our cameras ship into: driveways, barns, fence lines and job sites. Follow the order, and you’ll only climb the ladder once.
1. Mounting Height: The 8–10 Foot Rule
Height is a trade between two failures:
- Too low (<6 ft): easy to reach, easy to smash, easy to unclip
- Too high (>12 ft): you get the tops of heads. Faces become hats, plates become glitter
8–10 feet is the sweet spot — out of grab range, still face-level with a slight downward tilt. Going higher on purpose (second-story eave, tall barn wall)? Steepen the angle, or choose a camera with optical zoom — like the Ranger PRO’s 20x — so distance doesn’t cost you detail.
2. Angle: Catch the Approach, Not the Horizon
The most useful footage shows a person or vehicle getting to a place, not already there. Two rules:
- Tilt down 15–30°. A camera aimed at the horizon watches weather. Aim across the approach route — the driveway, the gate, the path to the shed.
- Angle across, not straight at. A camera looking straight down an approach gets a headlight blob and a silhouette. Offset 30–45° to the path and faces and plates resolve.
Two-minute test before you tighten the bracket
Open the app, stand where a visitor would arrive, and walk the approach while watching the live view. If your face fills the frame at the critical spot, you’re done. If not, adjust before the bracket screws do.
3. PIR Tuning: Stop Alerting on Every Squirrel
PIR sensors detect heat in motion — far smarter than raw pixel motion detection, and vastly easier on the battery. But placement still matters:
| Model | PIR Detection Range | Placement Note |
|---|---|---|
| Twinview 537 / Ranger PRO 637 | 10–12 m (33–40 ft) | Keep the approach inside that band |
| FourSight cameras | 20–30 m (66–98 ft) | Wide coverage per unit — plan the loop |
Then set the three filters, in this order:
- Human filtering ON — people trigger; deer, shadows and headlights don’t
- Sensitivity down a notch if you’re on a road corridor — heat plumes from engines can trip high settings
- Shrink the detection zone so the busy road and the neighbor’s tree line sit outside it. A camera pointed at a road should not watch the road.
4. Solar Panel: The Half of the Install Everyone Skips
A solar camera is a power budget, and the panel is income. Four habits make it work:
- Direction: face the strongest direct sun — south in the Northern Hemisphere
- Tilt: roughly your latitude, steeper for winter when the sun sits low
- Open sky: no branches, no eave shadows, no dust film — wipe monthly
- Separate panel from camera: the best sun is rarely the best view. Use the extension cable — 3m ships with the 537, 2m with the 637 — so the camera gets the angle and the panel gets the light
- Don’t mount the panel under an eave “to keep it dry” — it’s weatherproof; shade is what kills it
- Don’t leave the connector loose — seat both ends fully and seat the waterproof cap; an unsealed solar connector is the #1 cause of water-related failures
- Don’t test charge on a cloudy afternoon and panic — check the app’s battery level over a few sunny days instead
5. Signal Before Screws: The 4G Pre-Flight Check
For cellular models, the install order is signal first, bracket second:
- Stand at the mount point with your phone. Two bars minimum — one bar forces the modem to boost power, which burns battery and drops streams
- Insert the Nano SIM, power on, and confirm it registers in the app before final mounting (every model supports Bluetooth / QR / sound-wave setup)
- Use the 7-day free trial week to live with the placement — you’ll know within days if the spot needs to move
And the waterproofing finish: seat the SIM cap, snug the antenna connections (the FourSight base station has external 4G + WiFi antennas you can re-aim for signal), and give every exterior connector a check on the ladder down.
6. Storage Setup: Local First
Insert a microSD before final mounting — up to 512GB on supported models — and set recording to local. Your footage stays yours, no subscription required; cloud backup stays optional. Check the battery and storage level in the app once a month, same time you wipe the panel.